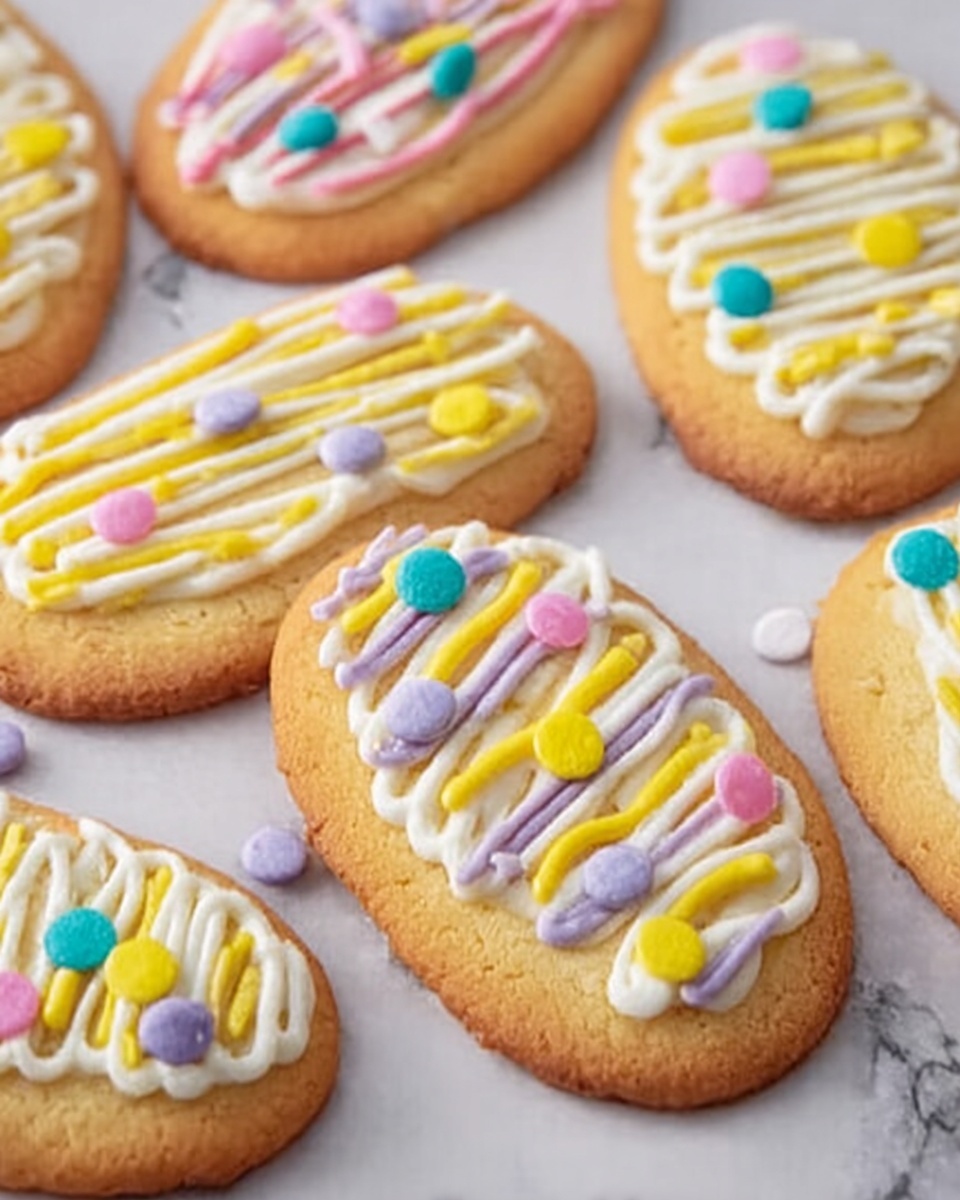
If you’re looking for a cookie that embodies both charm and delight, the Pastel Candy-Centered Butter Cookies Recipe is an absolute winner. These buttery, tender cookies with their playful pastel-colored candy centers are not only a feast for the eyes but also a celebration for the taste buds. Perfect for family gatherings, gift-giving, or just a cozy treat, this recipe blends simplicity and joy into every bite. Whether you’re a seasoned baker or just starting out, you’ll find these cookies irresistible and incredibly easy to make.
Ingredients You’ll Need
Creating these delightful pastel candy-centered butter cookies calls for a handful of simple, everyday ingredients that work harmoniously to provide wonderful flavor, texture, and a pop of color. Each one plays a crucial role in making this treat irresistibly soft, sweet, and vibrant.
- 1 cup unsalted butter, softened: The base of the cookie that provides a rich and creamy texture.
- 3/4 cup granulated sugar: Adds just the right level of sweetness and helps achieve a tender crumb.
- 1 large egg: Binds the ingredients together and contributes to a moist texture.
- 1 teaspoon vanilla extract: Offers warm, aromatic undertones that elevate the cookie’s flavor.
- 2 cups all-purpose flour: The structure builder that keeps the cookies soft yet sturdy.
- 1/2 teaspoon salt: Enhances all the flavors and balances the sweetness beautifully.
- 1/2 teaspoon baking powder: Gives a subtle lift, making the cookies light and tender.
- 1/2 cup pastel-colored candy-coated chocolates: The star of the show, adding bursts of color and a playful crunch in every bite.
How to Make Pastel Candy-Centered Butter Cookies Recipe
Step 1: Prepare Your Oven and Baking Sheet
Begin by heating your oven to 350°F (175°C). While it warms up, line a baking sheet with parchment paper to prevent sticking and make cleanup a breeze. Setting up your workspace this way ensures the cookies bake evenly and come off the tray effortlessly.
Step 2: Cream Butter and Sugar
In a large bowl, beat the softened butter and granulated sugar together until the mixture looks light and fluffy. This step is crucial because it incorporates air into the dough, contributing to the cookie’s tender crumb and delicate texture.
Step 3: Add Egg and Vanilla Extract
Next, mix in the egg and vanilla extract until fully combined. The egg adds moisture and helps bind your ingredients, while the vanilla infuses the dough with that warm, inviting aroma we all love in classic cookies.
Step 4: Combine Dry Ingredients
In a separate bowl, whisk together the flour, salt, and baking powder. Doing this separately allows the leavening agents and salt to distribute evenly, ensuring your cookies rise just right and the seasoning is balanced.
Step 5: Mix Dry Ingredients Into Wet
Gradually add the dry ingredients to the butter mixture and stir until a soft dough forms. Be careful not to overmix here—once everything is just combined, you’re ready to move on.
Step 6: Form and Place Dough Balls
Roll tablespoon-sized portions of the dough into balls and space them approximately 2 inches apart on your prepared baking sheet. This spacing is important because the cookies will spread slightly during baking.
Step 7: Press Pastel Candies Into Dough
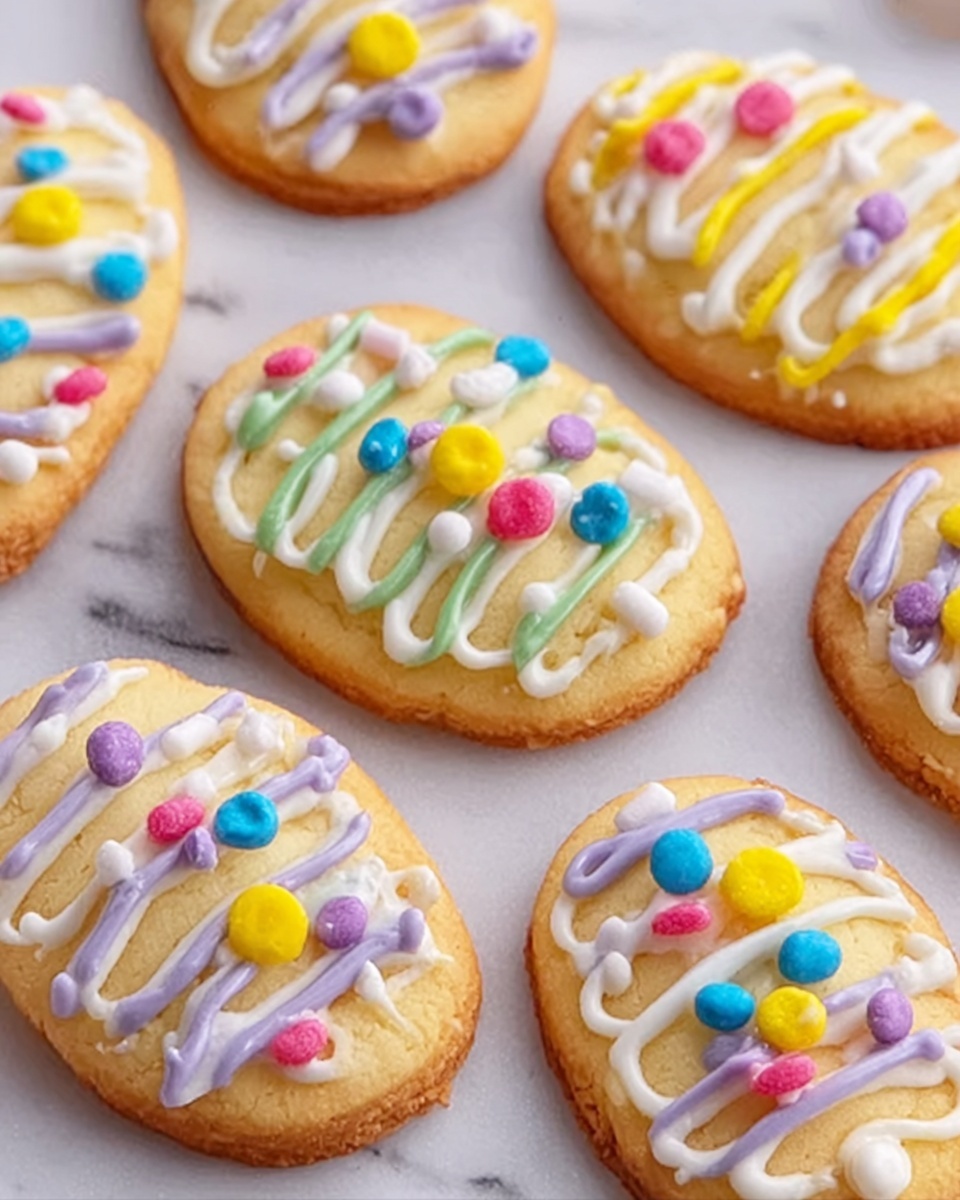
Gently press a few pastel-colored candy-coated chocolates on top of each dough ball. These candies will melt slightly and create a vibrant candy-centered focal point, adding a playful charm to your cookies.
Step 8: Bake to Perfection
Bake your cookies for 10 to 12 minutes, or until the edges turn a light golden brown. This ensures the cookies are tender but fully cooked through, with just the right amount of chewiness and crunch around the candy centers.
Step 9: Cool and Enjoy
Allow the cookies to cool on the baking sheet for about 5 minutes. Then transfer them to a wire rack to cool completely. This step prevents breakage and lets the flavors settle for that perfect cookie experience.
How to Serve Pastel Candy-Centered Butter Cookies Recipe

Garnishes
To add an extra touch of elegance or whimsy, dust your pastel candy-centered butter cookies lightly with powdered sugar or drizzle with white chocolate. These simple garnishes can enhance the cookie’s appearance and offer subtle differences in texture and sweetness.
Side Dishes
These cookies pair beautifully with a tall glass of cold milk, a steaming cup of coffee, or a soothing herbal tea. Their buttery richness and sweet candy centers complement both warm and cold beverages, perfect for afternoon tea or an indulgent snack break.
Creative Ways to Present
For parties or gifts, arrange your pastel candy-centered butter cookies in colorful tins or mason jars layered with tissue paper to highlight their charming pastel hues. You can also stack them on decorative cake stands or present them with coordinating table linens to amp up the festive vibe.
Make Ahead and Storage
Storing Leftovers
Store any leftover cookies in an airtight container at room temperature. They’ll stay fresh and maintain their softness for up to 5 days, making it easy to enjoy them over the week or share with friends.
Freezing
If you want to keep these pastel candy-centered butter cookies longer, place them in a freezer-safe container or bag, layering with parchment paper to prevent sticking. They freeze well for up to 3 months without losing their buttery flavor or charming candy centers.
Reheating
To refresh frozen or stored cookies, warm them gently in a preheated oven at 300°F (150°C) for about 5 minutes. This will revive their soft texture and subtle buttery aroma, making them taste freshly baked again.
FAQs
Can I use different types of candy instead of pastel-colored ones?
Absolutely! While pastel candies give these cookies their signature look, you can experiment with other candy-coated chocolates or even mini peanut butter cups to create new flavor profiles and appearances.
Will the cookies be too sweet with the added candy?
The sweetness from the candies balances wonderfully with the buttery, mildly sweet dough. The salt and vanilla help keep things well-rounded so the cookies never feel overly sugary.
Can I make this recipe gluten-free?
Yes, by swapping the all-purpose flour for a gluten-free baking blend, you can make these cookies gluten-free. Just be sure to check that your candies are gluten-free, too, for a safe treat.
How do I prevent the pastel candies from bleeding their color into the cookie?
Press the candies gently on top just before baking and avoid stirring them into the dough. Baking at the right temperature (350°F) helps the candies keep their shape and vibrant color with minimal melting.
Can this dough be chilled before baking?
Chilling the dough for about 30 minutes can make the cookies easier to handle and help the flavors meld. It also slows spreading during baking so you get thicker, more uniform cookies.
Final Thoughts
I genuinely believe the Pastel Candy-Centered Butter Cookies Recipe is one of those timeless treats that brings both joy and nostalgia to any occasion. Its simple ingredients and straightforward steps make it approachable, yet the delightful pastel candies give it a unique charm that everyone will love. Give this recipe a try, and I promise it will become a favorite in your baking repertoire to share and savor time and time again.
Print
Pastel Candy-Centered Butter Cookies Recipe
- Prep Time: 10 minutes
- Cook Time: 12 minutes
- Total Time: 22 minutes
- Yield: 24 cookies
- Category: Dessert
- Method: Baking
- Cuisine: American
Description
Delight in these pastel candy-centered butter cookies, featuring a tender, buttery base studded with colorful candy-coated chocolates. Perfectly crisp at the edges with a soft center, these cookies combine classic flavors with a playful twist ideal for any occasion.
Ingredients
Cookie Dough
- 1 cup unsalted butter, softened
- 3/4 cup granulated sugar
- 1 large egg
- 1 teaspoon vanilla extract
- 2 cups all-purpose flour
- 1/2 teaspoon salt
- 1/2 teaspoon baking powder
Decoration
- 1/2 cup pastel-colored candy-coated chocolates (such as M&Ms or similar)
Instructions
- Preheat Oven: Preheat your oven to 350°F (175°C) and line a baking sheet with parchment paper to prevent sticking and ensure even baking.
- Cream Butter and Sugar: In a large mixing bowl, cream together the softened butter and granulated sugar using a mixer until the mixture is light and fluffy, which creates a smooth base for your cookies.
- Add Egg and Vanilla: Beat in the large egg and vanilla extract until thoroughly combined, adding moisture and flavor to the dough.
- Mix Dry Ingredients: In a separate bowl, whisk together the all-purpose flour, salt, and baking powder to evenly distribute the leavening agents and seasoning.
- Combine Ingredients: Gradually incorporate the dry ingredients into the butter mixture, mixing gently until a soft dough forms without overworking.
- Form Dough Balls: Roll tablespoon-sized portions of dough into balls and place them on the prepared baking sheet with about 2 inches space between each to allow for spreading during baking.
- Add Candies: Gently press a few pastel-colored candy-coated chocolates onto the top of each dough ball, slightly embedding them into the dough.
- Bake Cookies: Bake the cookies in the preheated oven for 10-12 minutes or until the edges are lightly golden, indicating they are perfectly crisp.
- Cool Down: Let the cookies cool on the baking sheet for 5 minutes after baking, then transfer them to a wire rack to cool completely before serving or storing.
Notes
- For extra color, use a mix of pastel and regular candies.
- Make sure not to overbake to keep centers soft.
- Softened butter ensures a smooth dough and better texture.
- Store cookies in an airtight container at room temperature for up to one week.
- These cookies freeze well, so you can keep dough balls frozen and bake as needed.


