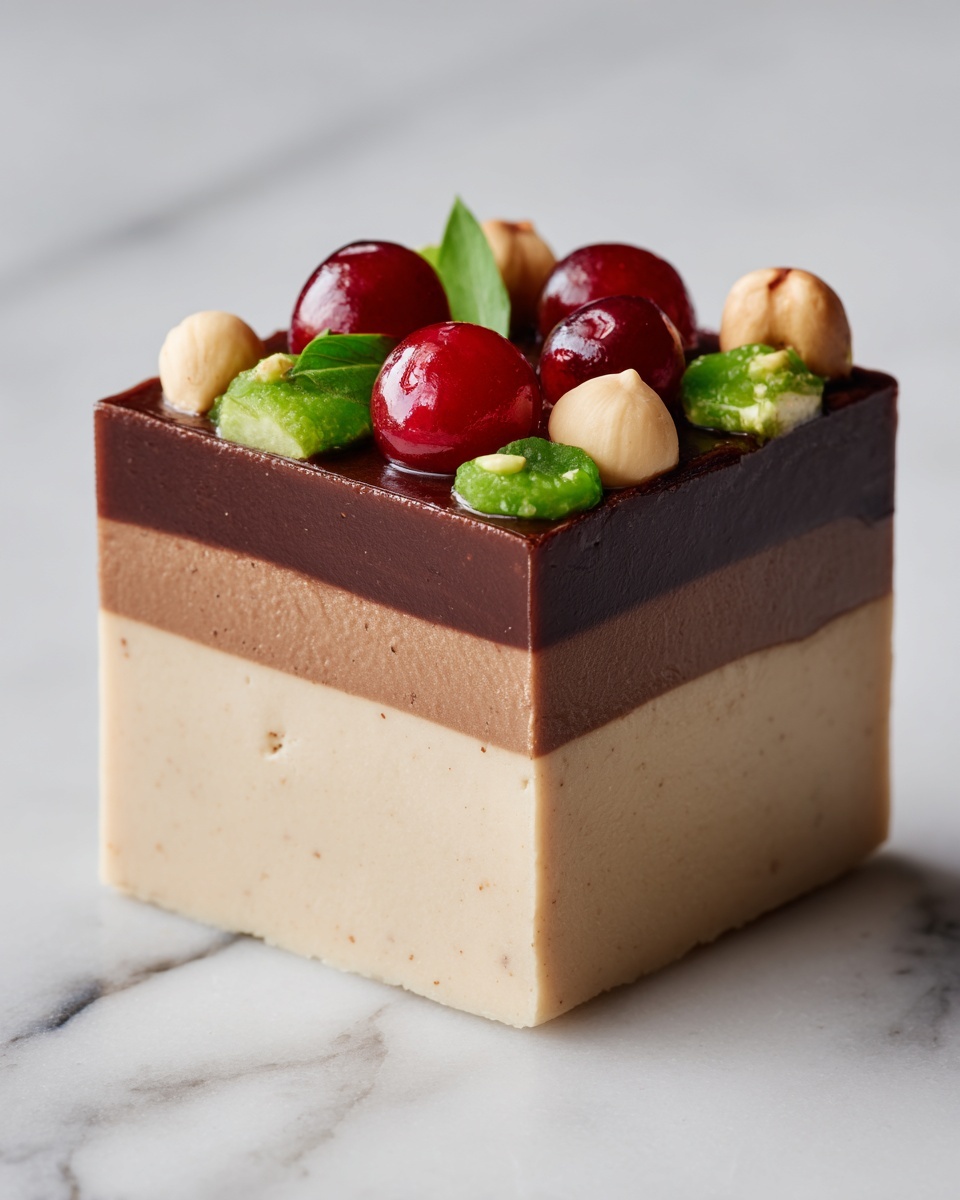
If you’re anything like me, there’s something irresistibly comforting about the rich, creamy combination of peanut butter and chocolate. That’s exactly what makes this No-Bake Peanut Butter Bars Recipe an absolute winner every single time. It’s quick to whip up, doesn’t require an oven, and results in a luscious treat that balances sweetness, smoothness, and just the right touch of crunch. Whether you need a crowd-pleaser for your next gathering or a special homemade snack to satisfy your sweet tooth, these bars deliver unforgettable flavor with minimal fuss!
Ingredients You’ll Need
These ingredients are simple but essential, each playing its part to create the perfect texture and taste that makes these bars so addictive. From creamy peanut butter to silky chocolate topping, every component adds a layer of deliciousness.
- 2 cups creamy peanut butter: Provides the rich, nutty base with a smooth and creamy texture.
- ½ cup unsalted butter, softened (1 stick): Adds a velvety richness and helps bind everything together.
- 2 teaspoons vanilla extract: Enhances the flavors with a sweet, fragrant note.
- ½ teaspoon salt: Balances sweetness and deepens the flavor.
- 4-5 cups powdered sugar: Sweetens and adds structure; start with 4 cups and add more if needed to get the right consistency.
- 1 ½ cups chocolate chips: Brings a luscious chocolate topping that melts beautifully.
- 1 teaspoon coconut oil: Helps the chocolate melt smoothly and stay shiny once set.
- 2 tablespoons festive sprinkles (optional): Adds a fun, colorful finish perfect for celebrations.
How to Make No-Bake Peanut Butter Bars Recipe
Step 1: Prepare Your Pan
Line an 8×8” or 9×9” dish with parchment paper. This step might seem simple, but it’s key for easy removal later on and keeps your bars looking neat and tidy.
Step 2: Mix the Peanut Butter and Butter
Combine the creamy peanut butter and softened butter in a large bowl. Using an electric hand mixer or stand mixer on medium speed, blend until it’s completely smooth and velvety. This creamy base is the heart of your bars!
Step 3: Add Vanilla and Salt
Stir in the vanilla extract and salt. These add an extra depth of flavor, making every bite taste rich and well-rounded.
Step 4: Incorporate the Powdered Sugar
Gradually add the powdered sugar, mixing on low speed after each addition. Scrape down the bowl sides to ensure even mixing. The mixture will transform into crumbly dough—start with 4 cups of sugar and add more if it feels too wet or sticky. This controls the sweetness and firmness of the bars perfectly.
Step 5: Form the Base
Pour the crumbly peanut butter mixture into your prepared pan. Press it down evenly. For an extra-smooth finish, lay a piece of parchment or wax paper on top and gently press until flat. This creates the solid, sturdy base that holds everything together beautifully.
Step 6: Melt the Chocolate
In a microwave-safe bowl, combine chocolate chips and coconut oil. Heat in 30-second bursts, stirring in between, until glossy and fully melted. Coconut oil not only thins the chocolate but gives it a shiny, professional look once it sets.
Step 7: Top with Chocolate and Sprinkles
Pour the melted chocolate evenly over the peanut butter base. Use a spatula to spread it smoothly. While the chocolate is still wet, scatter the festive sprinkles on top for that extra wow factor—perfect for parties or a cheerful snack.
Step 8: Chill and Set
Place the bars in the refrigerator for about 20 minutes. This chilling step firms up the chocolate and peanut butter layers, making it easier to slice and serve.
Step 9: Serve and Enjoy
Once chilled, slice into squares and serve. These bars taste amazing chilled or at room temperature, so feel free to enjoy them however you prefer!
How to Serve No-Bake Peanut Butter Bars Recipe
Garnishes
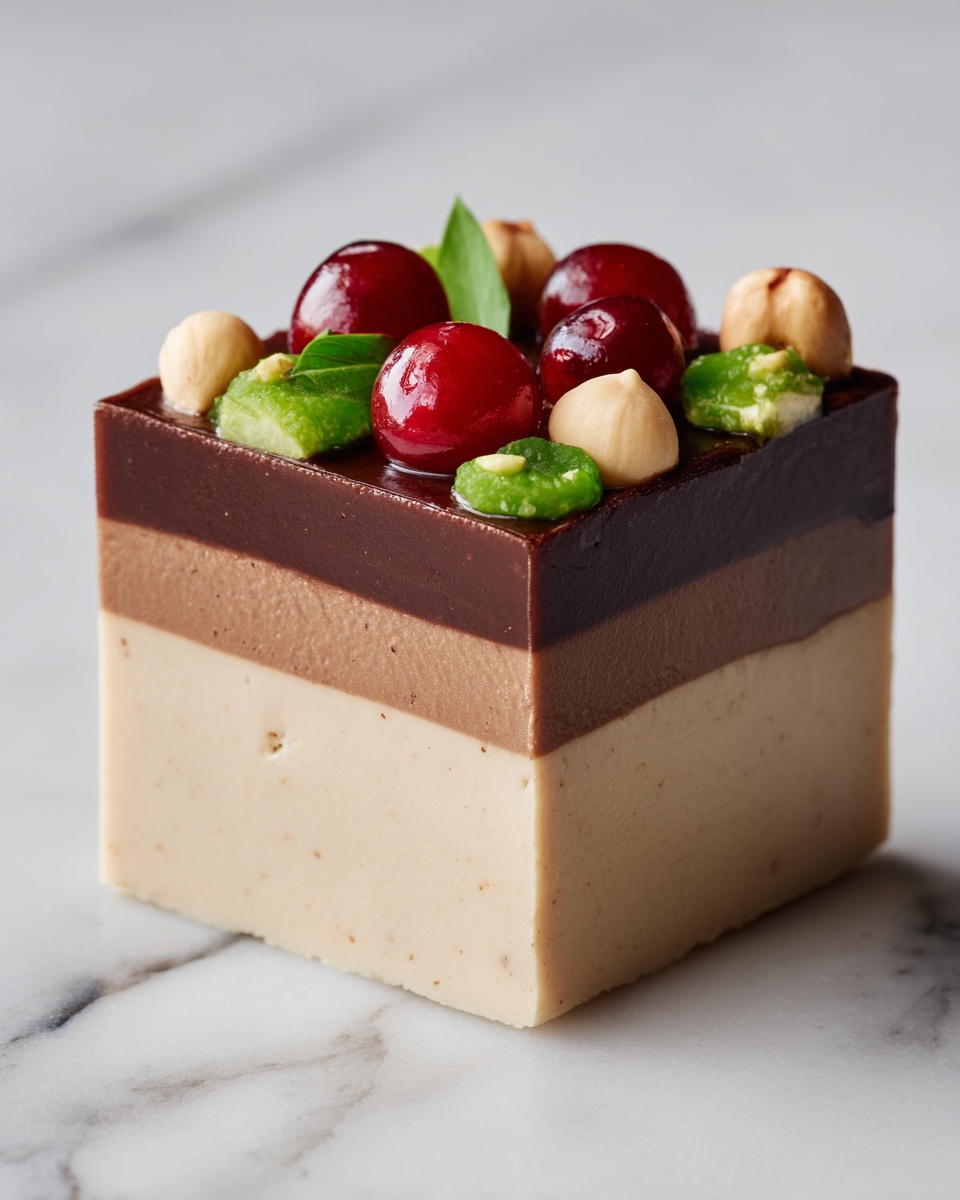
Add a sprinkle of flaky sea salt or a drizzle of extra melted chocolate for a gourmet touch. Chopped peanuts or a dusting of cocoa powder can also enhance presentation while adding layers of flavor and texture.
Side Dishes
These bars pair perfectly with a cold glass of milk, a warm cup of coffee, or even a refreshing iced tea. They also work as a sweet finish after a light salad or sandwich meal—think of them as a delicious little reward.
Creative Ways to Present
Try serving the bars on a beautiful wooden board or colorful platter for a rustic, homemade vibe. Cutting them into bite-sized squares and offering toothpicks makes for easy party snacking. Wrapping individual bars in parchment paper creates delightful little gifts!
Make Ahead and Storage
Storing Leftovers
Keep leftover bars in an airtight container in the refrigerator. They stay fresh and flavorful for up to a week, making them a convenient go-to snack.
Freezing
Wrap individual bars tightly with plastic wrap and place them in a freezer-safe bag. You can freeze them for up to 2 months. When ready, just thaw in the refrigerator overnight or at room temperature for a few hours.
Reheating
Since this is a no-bake treat, reheating is not necessary. But if you prefer your bars a bit softer, leave them out at room temperature for 10-15 minutes before enjoying. They soften beautifully without losing any flavor.
FAQs
Can I use crunchy peanut butter instead of creamy?
You absolutely can! Crunchy peanut butter adds a lovely texture contrast, but keep in mind it might change the smoothness of the bars slightly. Both versions taste fantastic.
What if I don’t have coconut oil?
If you don’t have coconut oil, vegetable oil or butter can be used to melt the chocolate, though coconut oil gives the chocolate a nice shine and smooth consistency.
How do I make the bars less sweet?
To reduce sweetness, try using a bit less powdered sugar or swap some of the sugar for a natural sweetener like powdered erythritol. Just be cautious to keep enough sugar to maintain the texture.
Can I add other mix-ins?
Yes! Feel free to mix in chopped nuts, mini chocolate chips, or even a handful of dried fruit into the peanut butter base to customize your bars to your liking.
How thick should the peanut butter layer be?
A thickness of about 1 inch is perfect. It gives you that satisfying peanut butter experience with enough space for the chocolate topping to balance things out beautifully.
Final Thoughts
This No-Bake Peanut Butter Bars Recipe is truly a gem in my recipe collection, blending ease and incredible flavor into a snack that everyone loves. Whether you’re new to no-bake desserts or a seasoned pro, these bars are a wonderful way to bring a little joy and sweetness into your day, fast and fuss-free. Give it a try—you’ll be so glad you did!
Print
No-Bake Peanut Butter Bars Recipe
- Prep Time: 10 minutes
- Cook Time: 0 minutes
- Total Time: 30 minutes
- Yield: 16 servings
- Category: Dessert
- Method: No-Cook
- Cuisine: American
Description
These No-Bake Peanut Butter Bars are a quick and easy treat combining creamy peanut butter and a smooth chocolate topping, perfect for a delicious dessert or snack. With just a few ingredients and minimal prep time, this recipe creates rich, sweet bars that set in the refrigerator without any baking required.
Ingredients
Base
- 2 cups creamy peanut butter
- ½ cup unsalted butter, softened (1 stick)
- 2 teaspoons vanilla extract
- ½ teaspoon salt
- 4–5 cups powdered sugar (start with 4 cups and add more if too wet)
Topping
- 1 ½ cups chocolate chips
- 1 teaspoon coconut oil
- 2 tablespoons festive sprinkles (optional)
Instructions
- Prepare Your Pan
Line an 8×8” or 9×9” dish with parchment paper and set aside to prevent sticking and make for easy removal of the bars. - Mix the Peanut Butter and Butter
In a large bowl, combine the creamy peanut butter and softened unsalted butter. Use an electric hand mixer or stand mixer with paddle attachment on medium speed to blend until the mixture is smooth and creamy. - Add Vanilla and Salt
Add the vanilla extract and salt to the peanut butter mixture, blending again to ensure everything is fully incorporated. - Incorporate the Powdered Sugar
Gradually add the powdered sugar to the mixture, mixing on low speed between additions. Scrape down the sides of the bowl periodically. Start with 4 cups of powdered sugar, adding more if needed until the dough is firm but still slightly crumbly. - Form the Base
Once the sugar is fully mixed and the dough has a crumb-like texture, press the mixture into the prepared pan into an even layer. For a smooth top, place parchment or wax paper over the dough and press firmly until flat. - Melt the Chocolate
In a microwave-safe bowl, combine the chocolate chips and coconut oil. Heat in the microwave for 30 seconds, stir, then heat for two additional 30-second intervals, stirring between each until fully melted and smooth. - Top with Chocolate
Pour the melted chocolate evenly over the peanut butter base, spreading it smoothly with a spatula to cover the entire surface. - Add the Sprinkles
While the chocolate is still wet, sprinkle the festive sprinkles evenly over the top for a decorative touch. - Chill and Set
Place the pan in the refrigerator for 20 minutes to allow the chocolate topping to completely set and the bars to firm up. - Serve and Enjoy
Remove from the refrigerator, slice into bars, and serve chilled or at room temperature for a decadent, no-bake treat.
Notes
- You can substitute natural peanut butter but the texture may be slightly different.
- If bars are too soft, add more powdered sugar to the base mixture to firm it up.
- Use any type of chocolate chips you prefer—milk, dark, or semi-sweet.
- Store leftovers in an airtight container in the refrigerator for up to one week.
- For nut-free option, consider using sunflower seed butter instead of peanut butter.

